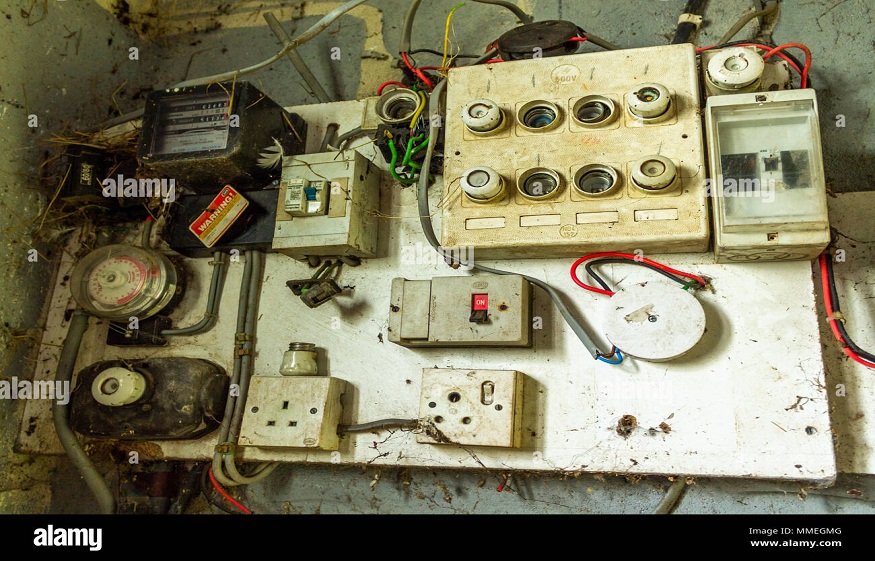
Switches are small but essential components of any electrical system, providing seamless control over lighting and appliances. Over time, they may wear out, become outdated, or fail entirely. Replacing old switches is a manageable DIY project if done carefully and with the right tools. This guide will walk you through the process of safely and efficiently replacing your electrical switches.
1. Why Replace Old Electrical Switches?
There are several reasons to consider replacing your switches:
- Safety Concerns: Worn-out or faulty switches can spark or overheat, posing a fire risk.
- Modern Aesthetics: Upgrading to modular or smart switches can enhance the look of your interiors.
- Functionality: New switches often come with additional features, such as dimmers or timers, that improve convenience.
Pro Tip: Opt for modular switches from trusted brands like Gold Medal India for durability and style.
2. Tools and Materials You’ll Need
Before starting, gather the following:
- Screwdriver
- Voltage tester
- Replacement switch
- Insulated gloves
- Electrical tape
Note: Ensure the replacement switch matches the current’s load requirements and fits the existing electrical box.
3. Step-by-Step Guide to Replacing a Switch
Step 1: Turn Off the Power
Safety comes first. Locate the breaker panel and turn off the circuit supplying power to the switch. Use a voltage tester to confirm that no electricity is flowing to the switch.
Step 2: Remove the Old Switch
- Unscrew the faceplate covering the switch.
- Carefully unscrew the switch itself from the electrical box.
- Observe the wiring connections and take a photo for reference. This will help you reconnect wires correctly later.
Step 3: Disconnect the Wires
Using the screwdriver, loosen the terminal screws and detach the wires from the old switch. If the wires are wrapped in electrical tape, remove it carefully.
Step 4: Inspect and Prepare the Wires
Check the condition of the wires. If any are frayed or damaged, trim the ends and strip about 1 cm of insulation to expose fresh copper.
Step 5: Connect the New Switch
- Attach the wires to the terminals of the new switch. Typically:
- The black (live) wire connects to the common terminal.
- The red (load) wire connects to the load terminal.
- The green or bare copper wire connects to the ground terminal.
- Tighten the screws to secure the wires firmly.
Pro Tip: Modular switches often have clear markings to guide you during installation.
Step 6: Secure the Switch and Faceplate
Push the switch back into the electrical box and secure it with screws. Reattach the faceplate, ensuring it aligns properly.
Step 7: Test the Switch
Turn the power back on at the breaker panel. Test the switch to ensure it functions correctly. If it doesn’t, turn off the power and double-check the wiring.
4. Safety Tips to Keep in Mind
- Always work in a well-lit area to avoid mistakes.
- Never touch exposed wires without verifying that the power is off.
- If you encounter complicated wiring or uncertainty, consult a licensed electrician.
5. When to Call a Professional
While replacing a single switch is straightforward, some scenarios require expert intervention:
- Multiple Switches: Complex systems, like three-way or four-way switches, need a professional touch.
- Damaged Wiring: If wires appear burned or frayed beyond repair, an electrician can safely replace them.
- Upgrades: Installing smart switches or dimmers may involve additional steps beyond basic wiring.
Conclusion
Replacing old switches doesn’t have to be intimidating. With the right tools, precautions, and this step-by-step guide, you can successfully upgrade your switches and enhance the safety and functionality of your home. By following these DIY tips, you not only save money but also gain the satisfaction of improving your living space yourself.


